
Blink Outdoor 2K+ (newest model) — Wireless smart security camera, 2K video resolution, enhanced audio, two-year battery. Sync Module Core included — 5 camera system (Black)
$349.99
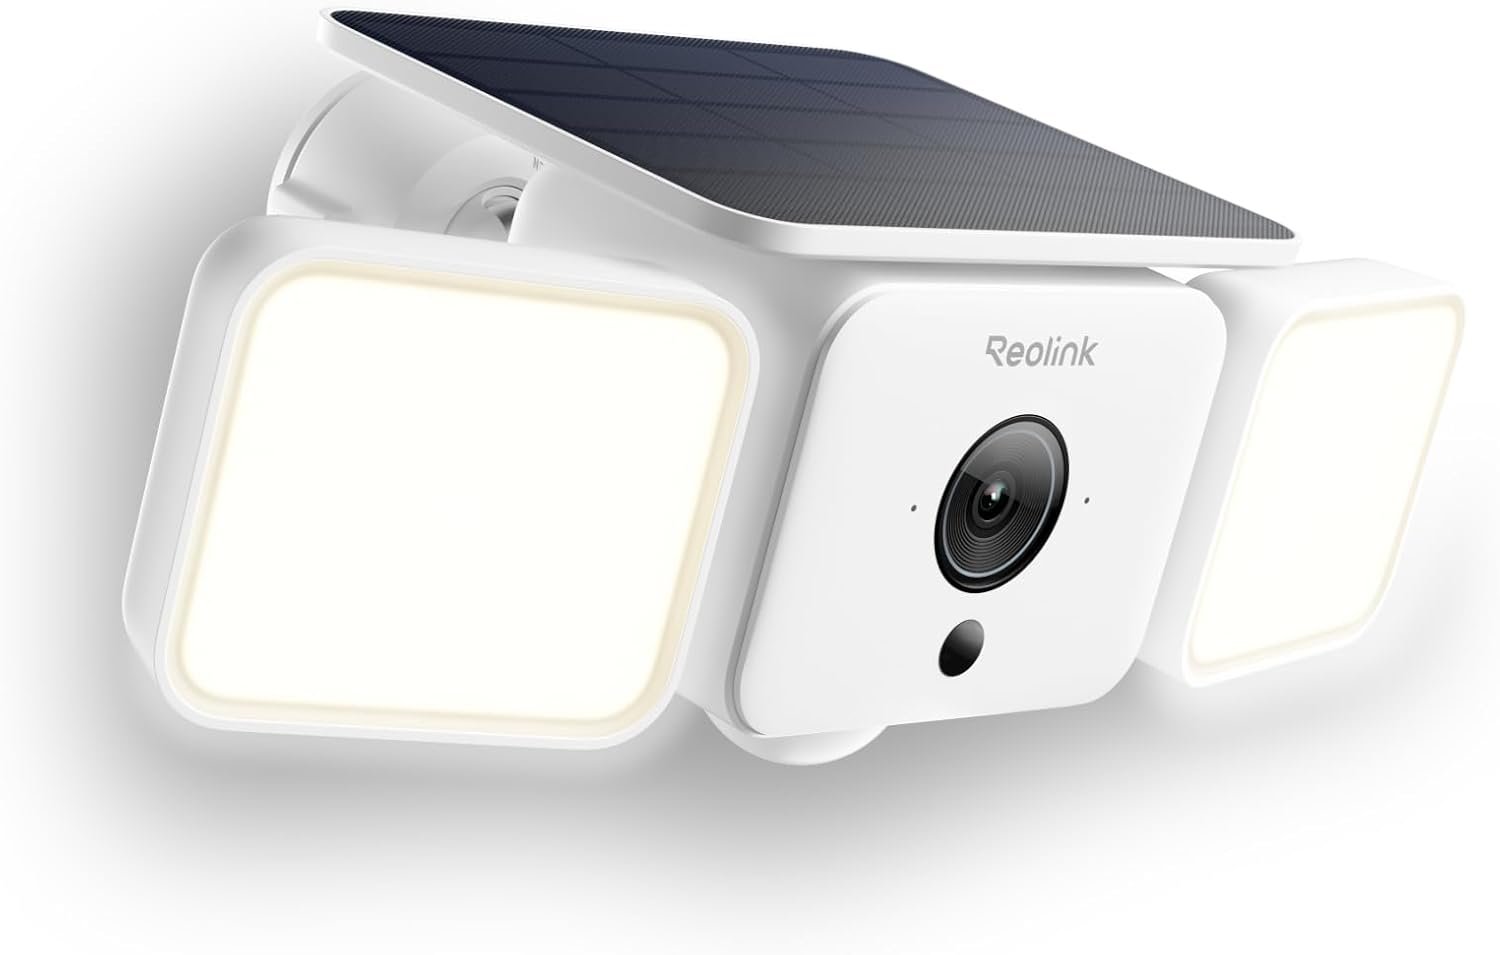
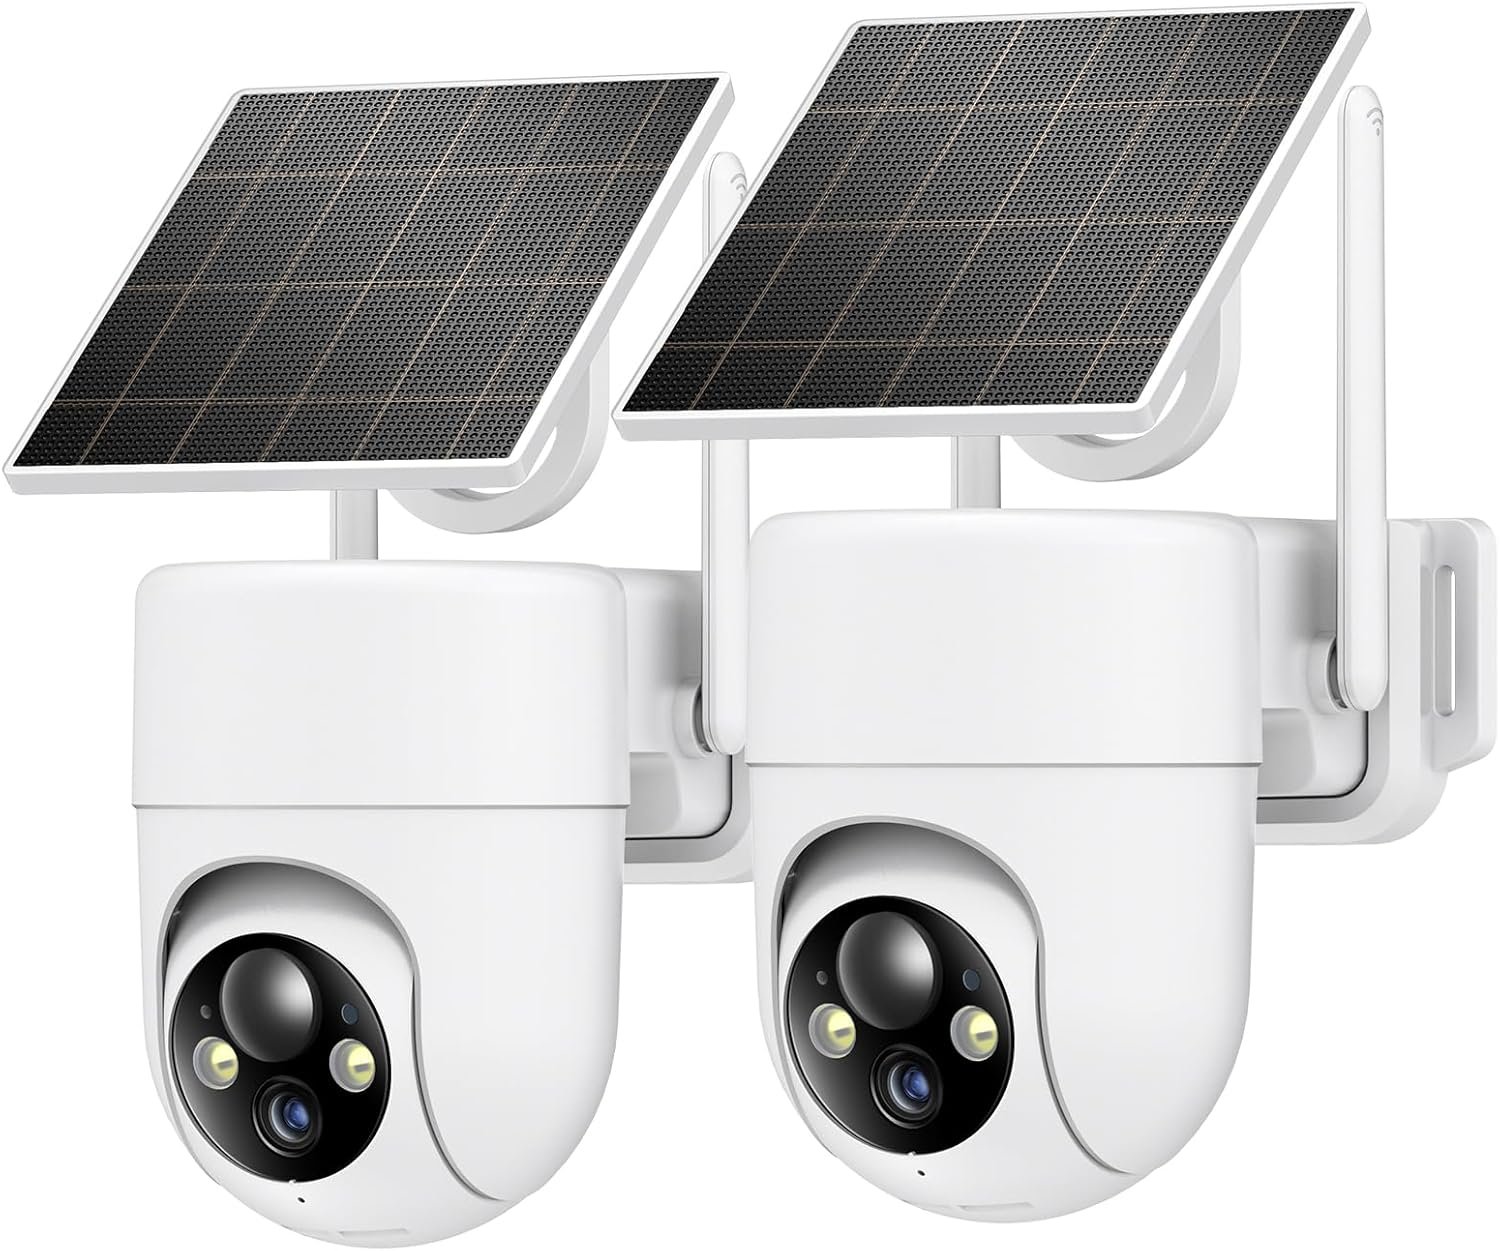
Related Products


Battery-powered protection, now in 2K — Blink Outdoor 2K+ is our next-generation wireless smart security camera that delivers an improved visual and audio experience with sharp 2K video resolution and Color Vision in low light.
2K video clarity — See more of what matters with sharper 2K video resolution. From subtle textures to defined edges, every frame reveals rich detail and enhanced color even in challenging light conditions.
Color Vision in low light — Ambient lighting is all you need to experience around-the-clock peace of mind, allowing Outdoor 2K+ to give color video at low light levels before switching to infrared black and white.
Two-way audio with noise cancellation — Enhanced 2K video resolution and advanced noise cancellation provide sharp, natural conversations anywhere around your home, making every interaction feel like you’re there in person.
Smart detection —With an optional Blink Subscription Plan (sold separately), receive smart notifications for person and vehicle detection, ensuring you’re only notified about the motion that matters most.
4x zoom — Get a closer look when you need it. Zoom in up to 4x to verify package delivery details, see visitors clearly, or identify vehicles in your driveway without losing crucial visual information.
Blink Weather Shield — Built to brave the elements, Blink Outdoor 2K+ has a weather-resistant IP-65 design that stands up to rain, dust, and severe weather, keeping your security running strong all year round.
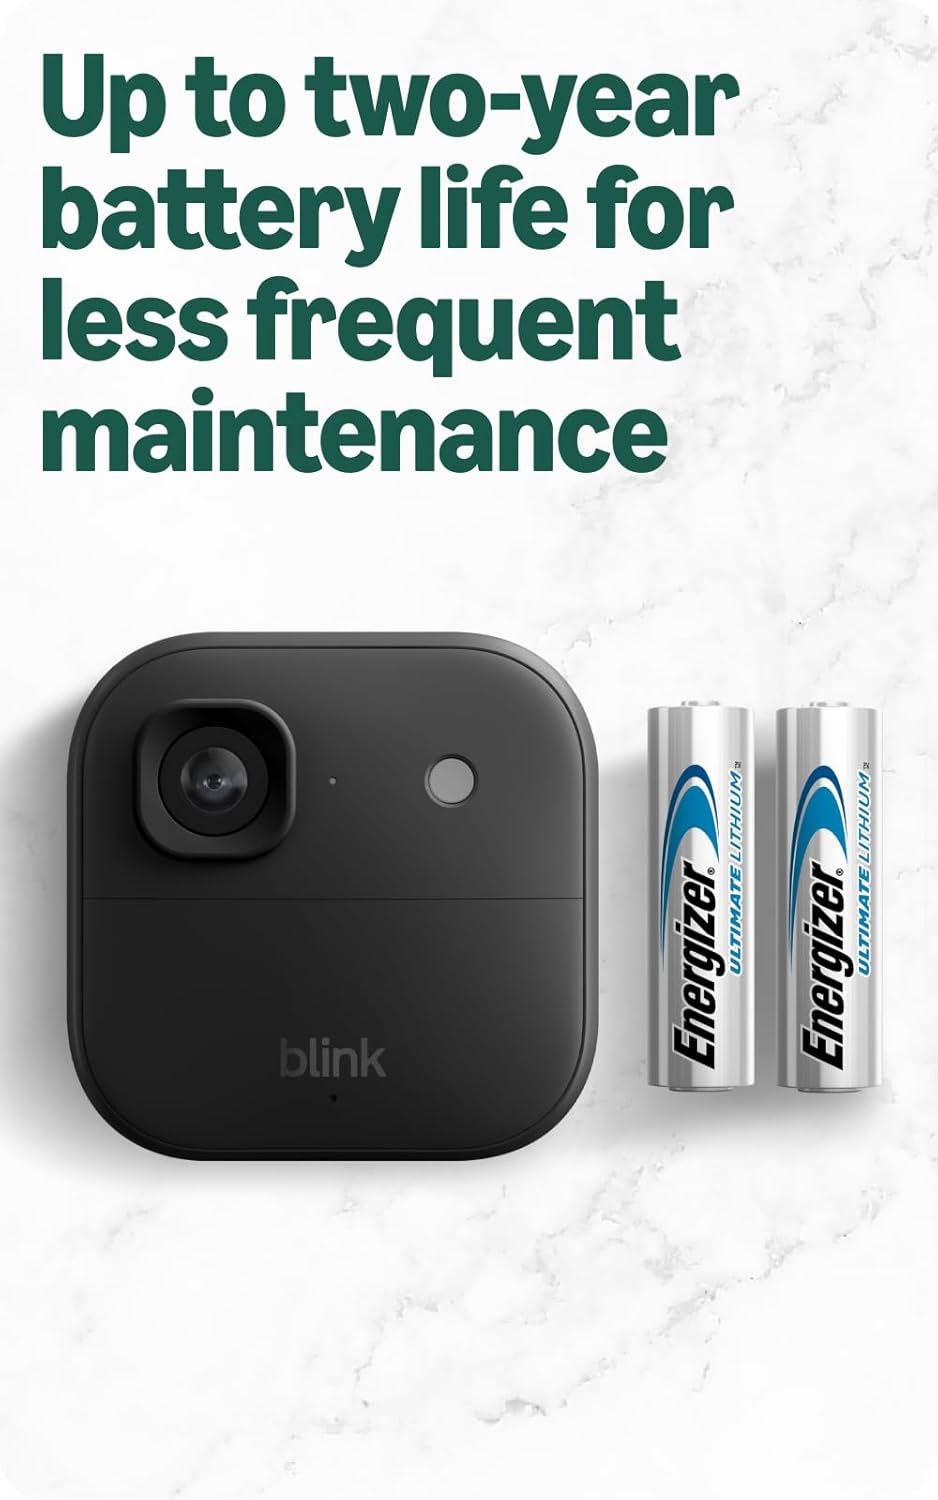
Two-year battery life — Set up in minutes and get up to two years of power with AA Energizer lithium batteries and a Blink Sync Module (both included).
Includes five Blink Outdoor 2K+ cameras, one Blink Sync Module Core, ten AA 1.5V lithium Energizer batteries, five mounting kits, one power adapter (for Sync Module Core), and one USB-C cable (for Sync Module Core).
2 reviews for Blink Outdoor 2K+ (newest model) — Wireless smart security camera, 2K video resolution, enhanced audio, two-year battery. Sync Module Core included — 5 camera system (Black)
Add a review
$349.99
SouthernGypsy –
Love the Color Night Vision, Great Upgrade, and I’m Including Some TIPS for NIGHT VISION SETUP.
We ordered three of the 5 packs, along with 3 of the 2K+ doorbell units for a total of 18 cameras, plus one LED floodlight unit. Upgraded from the old 1st gen system we used for 10 years and these seem even more durable. These new 2K+ units are amazing, love the integration with the floodlight and strong WIFI range compared to the older models. The Color Night Vision option is Awesome, but I noticed a lot of people complaining the color doesn’t work for them… I suspect many people don’t understand how to set up night vision for best results and when you can and can’t use color night vision. I’ve used various generations of night vision scopes in the military over 21+ years along with various night vision rifle scopes here at the ranch since retiring, so I’m very familiar with the use and limitations. First off you can’t have Color night vision in Total or Near Total Darkness, it’s just not possible with any current technology of a reasonably small size, not even $10k tactical military scopes. So, how do you get the best results? First off you have to understand that Color Night Vision is just an ultra-high sensitivity ultra-low lux camera, it still has to have at least some reasonable level of ambient light. Next, you have Infrared (IR) night vision which by very nature is never color but can work in total darkness with no ambient light at all. The problem is you can’t have BOTH on at the same time. So, how you get the best picture depends on how much ambient light (if any) there is near where the camera is looking and each camera is going to be different. Under device settings you have a section called “Video and Photo Settings” where you have the night vision settings; Night Vision which has Auto/On/Off, and IR Intensity which has Low/Med/High. For COLOR night vision you have to select AUTO or OFF, if you choose ON the IR lamp will Always be illuminated and thus no Color, remember you can’t have both at the same time! So ignore the ON option (and it would eat batteries faster if you did leave it On all the time anyway). As for the other two options; in Auto mode you get color night vision IF there is enough ambient light but if there isn’t it will automatically revert back to the IR light and be B&W, set to OFF you will Always get Color BUT with the caveat that if there is not enough ambient light it may be too dark to see anything. I live on a horse ranch out in the country so not a lot of ambient light like you would have in the city, but I do have some small LED outdoor night lights around the property, and there is often at least some moonlight. So many of my cameras are in places with enough ambient light that I set the Night Vision IR to OFF and so always have color night vision of varying brightness but almost all are bright enough to see good, some that are near some outdoor lights are actually quite bright, then on others the brightness varies with moonlight. Now I do have a couple of cameras in locations where there’s almost always near total darkness (under a covered equipment shed where there is no artificial light and even moonlight can’t get in) so I have those set to Auto, I get a B&W picture and that’s fine, I know there is just not enough ambient light and I don’t care to add any in that location. Now if you do have it in Auto mode you have a second choice in this section which is IR Intensity where you have Low/Med/High and i’ll tell you from experience this is a situation where more is rarely better. These new generation IR cameras are powerful even on Low and while Med or High will make the scene brighter, it actually tends to wash out details. I have never found and can’t even think of a situation where High would be appropriate (and will eat batteries if you get much motion) so just ignore the High setting. Now, for your location, and this is something you will need to take the time to test on each individual camera. I read a review where someone said he bought a 2 pack and 1 camera had color night vision but the other only had B&W so thought it was broke, I’d bet the one camera actually had some light nearby and the other did not. Or he had IR turned On all the time on the one instead of Auto or Off. To find the best setting for each camera… After you have all your cameras mounted and you’re sitting in your home that night with the app, go in and set the Night Vision to OFF and then go and do a “live view” to see if you have a good color picture and while your at it, take a screen shot (remember you get a wider screen with more details in horizontal orientation, except for doorbell cameras which should be vertical). If you do get a color view that’s bright enough wonderful, but if it’s not bright enough then your left with two choices; add some sort of small light in the area or you’ll have to switch to Auto mode. If you do have to switch to Auto, then set the IR Intensity to Low, go back and to do a live view and again while it’s showing the live view take a screen shot with your camera. Then go back and change the IR Intensity to Medium and go back and again do a live view and take a screen shot. Now go to your photos and compare your three pictures, don’t just judge by the live view while your looking but go and look at your pictures where you can swipe back and fourth between them and even zoom in to compare which one gives you the clearest picture. Pick some common fine detail in the pictures to see how clear it is in each. That will tell you which mode combination will give you the best picture for that camera. If your like me, way out in the country on a ranch with no city lights you simply may not have enough ambient light for color night vision on all cameras, even the moon phase or if it’s cloudy will affect it. On some of my cameras I have them set to Auto and Low and get B&W images on cloudy nights, color images that are darker but not too dark on average moonlit nights, and amazongly bright color images on full moon nights . If your in the city or suburbs where there is often lots of light pollution you should almost always be able to turn the IR to OFF and have color night vision with enough brightness. One additional note is that if you mount a camera where it’s too close to a wall, under an eve, or near other reflective or light colored surfaces and you are using the IR mode, if you get a “flair” or “halo” effect in the picture it’s probably because the wall, eve, or something else is reflecting the IR light back into the lens. It’s not a defect, just an artifact of how IR works, so you have to be aware when mounting cameras to make sure you don’t have some bright surface just in front of/beside the camera lens. If it’s mounted on a white wall or under an eve and angled so it looks along the wall or the eve overhangs it closely, sometimes tilting it out or down just another couple of degrees away from the wall or eve can eliminate the flair or halo effect. Other than those suggestions I will say to play with the settings, learn what they all do before assuming it’s defective or not working correctly. Just to give some people a bit of a head start I will share my settings after using Blink cameras for 10 years to maximize battery life and get reliable clips when people or cars come onto the ranch… Under each camera Under General Settings turn the Status LED to OFF as it saves battery life and keeps the camera more stealthy, Under Motion Settings Motion Detection is ON, Motion Sensitivity I always start with 4 and then adjust as needed after testing, Re-trigger time is 10s, Smart Detection and Motion Zones on this page is a personal choice to each camera/location but I usually leave them set to the default. Under Video and Photo Settings my Motion Clip Length is 60 sections, you’ll get a warning about battery life BUT your also going to turn End Clip Early if Motion Stops to ON which will counter that. Video Quality is set to Standard on all my Outdoor cameras which are always active, but set to Best on Indoor Cameras and Cameras inside of Shops which we only turn on when we’re away from home. Night Vision I just discussed above, I have Photo Capture and Auto-Update Thumbnail both OFF. Under Audio Settings I have the slider at about 85% which seems to work well with the speakers being loud enough but not sounding like they’re being blown out. Under Privacy settings Video Recording and Audio Streaming are both ON, and privacy zones is a personal choice to each camera/location but I usually don’t add any. At the bottom bar in the app under under Settings at the right end I go to Device and System Settings and then under Systems I tap on each systems name and turn Save all Live Views to OFF, your already recording motion so saving live views is kind of redundant and just uses more battery power Unless you have a specific reason for needing to save them. These systems may seem complicated to new users but are actually fairly easy to use and once setup properly work great, our old Blink system was still going after 10 years. We had 14 cameras and two doorbells on that system and in 10 years had only 1 camera that failed and that wasn’t the cameras fault but rather due to someone who was watching the property for me while I was deployed, he put in standard alkaline batteries instead of the lithium ion batteries they call for and one of those batteries leaked after about a month and ruined the camera, so don’t make that mistake.
Squid –
Blink Outdoor 2K+ (updated 2 February 2026)
2 February 2026So far so good! I’ve paired my BO 2K+ with the battery extender and I’ve been very pleased with the overall performance these cameras have. I’ve maxed out one camera on its video quality and I’m impressed with the increased details of the recordings, especially during the dark in low light environments. I don’t use the Night Vision/IR that much since upgrading to these cameras, but on the few instances I tested the feature, it met and exceeded my expectations. For those that need to enable that feature, especially in no light environments, I would highly recommend!I also have the Blink yearly subscription, and I really enjoy the additional features that allow you to capture specific movement which in turn allows your cameras to extend battery life.For those having WiFi and connect issues, you need to make sure your two things: 1. The Blink Sync Module is positioned properly where the cameras can capture the signal. If you place the sync module near a wall or corner, you may see connection quality impacted. 2. Your WiFi router (or wireless access point) also needs to be positioned in a opened area, or a high(er) away from tight corners or against walls because that will also impact the strength of the signal to the cameras. In situations like this, you may see increased latency or delay when attempting to live view your cameras. Additionally internet speed, specially upload speeds are a huge factor as well. In the app under Video Quality, it outlines the recommended upload speeds: Saver – 2 Mbps, Standard – 3 Mbps, Best – 6 Mbps.Overall, the BO 2K+ continue to hold up really well during this winter, and I’m excited to see what new features Blink incorporeal to these! At the current price, I would highly recommend getting this for those who haven’t explored Blink, or, for those who want to upgrade from previous versions!1 December 2025BO 2K+ continues to meet my needs for good visibility in low light areas. The camera is holding up really well for the few days we received snow and it has maintained connection to the sync module and my WiFi. I haven’t seen any fogginess on the lens since my last update, so I like how it’s held up so far with the cold weather. While the area I have doesn’t have a lot of motion going through, there were a few instances it picked up some deer running by and it captured that moment flawlessly. What I want to explore next is the battery extension, as it is also compatible from the BO4 cameras.The quality of the video is also great, as when you’re adjusting them, the LOWEST quality setting is “Saver” and is listed as HD video quality, so, in theory you can save more battery for those crucial moments that need recording. When pairing this with the newest sync module, and for those using the subscription for the additional detection features, I foresee the battery lasting much longer that previous generation of cameras. At this time, I have not changed the batteries for this camera that came with it, so I will continue to update this review over time.1 November 2025My understanding and experimenting so far is if you’re NOT using (aka turn off the feature) the Night Vision feature on these cameras, IN LOW LIGHT areas, you will be able to see footage in color, with the enhancements made in BO 2K+. I can confirm this as I have one side of my house that is significantly darker at night and is pointed at my shed, and compared to the regular Blink Outdoor 4 camera, there is improvements where I can see the color of my shed very clearly in BO 2K+ vice BO4.I’ve set my 2K+ camera to the lowest video quality and I’m impressed on how detailed the video is. It’s held up well for the few days that have snowed and dropped in temperature, so it’s definitely an improvement to BO4!30 October 2025I just got the 3-pack with Sync Module Core today, and I am very pleased with the packaging! It has outline images on each box to tell you what the item is. From previous version, we all got the white boxes, and we had to figure out which is which. So, this is a significant improvement!The set up is extremely easy as you have a quick set of instruction underneath the lid when you open the box, and you have a paper version of the Quick Start guide!The thing I like the most is that the mount for these cameras are the same for the Blink Outdoor 4 version, so switching my current setup to the BO 2K+ was quick!During the camera setup, it did prompt you whether you want performance or battery saver, and during this you can skip that and setup later. I found that this correlates with the Video Quality settings from the Video and Photo settings in the Blink app. So far, I set the Video Quality for Saver mode, so we’ll see how it performs in the part of my yard that is completely dark.The camera itself feels slightly heavier than the Blink Outdoor 4, but does not impact my review.The biggest thing I was curious about was the newer sync module it came with, claiming to improve battery life. Not sure if it’s only for the 2K+ cameras, or for other generation of cameras too. This sync module is about half the size of the Blink Sync Module XR, and does NOT have local storage. I’ve been using the subscription plan that Blink offers for some time now, and I’ve been pleased with the cloud storage.Overall, right out of the box, I am very pleased and excited to see how it performs through this winter. Will continue to update this review as we continue this journey!